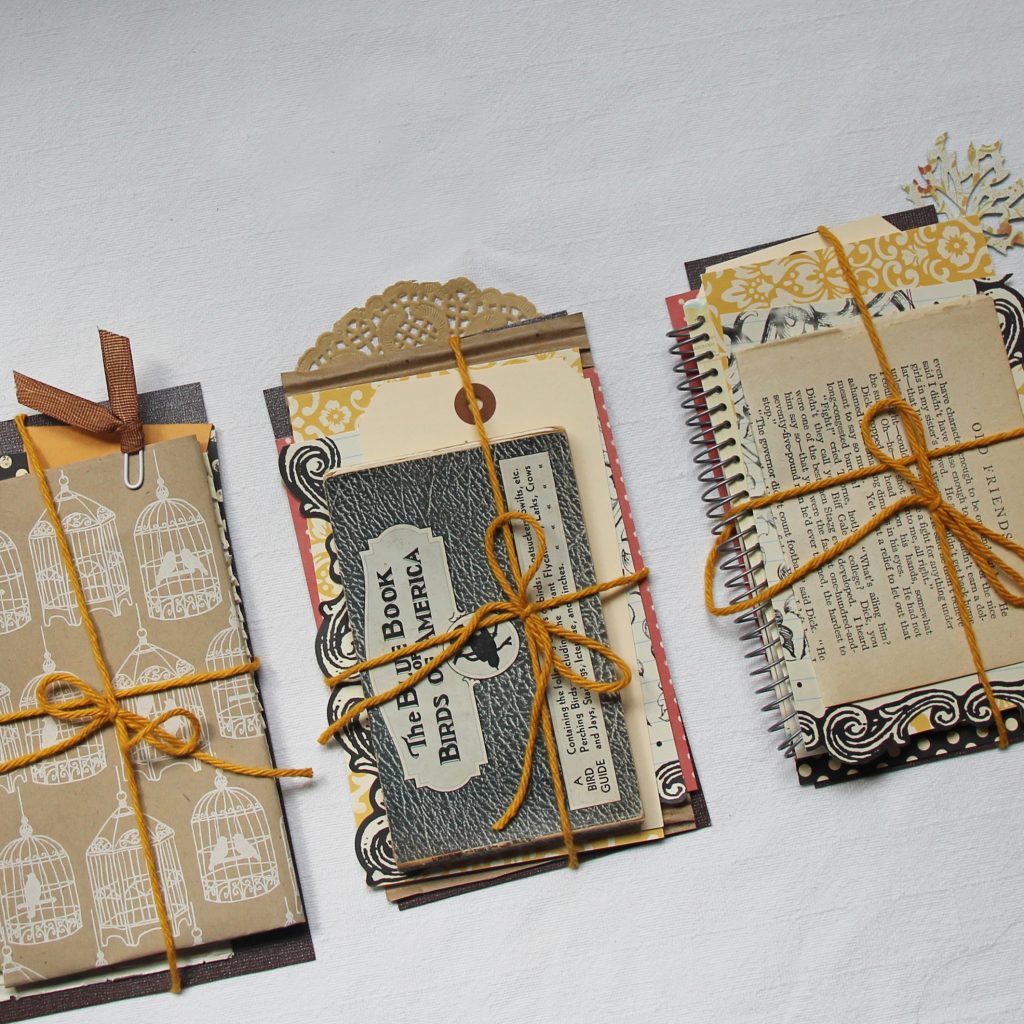
 These pretty papers and ephemera were chosen for fall layers in a traveler's notebook—and they remind me of the LAYERED approach I use for making individual LESSONS in online courses.
Here's how it goes:
1️⃣ DEFINE LESSON OUTCOME 🥅
You've always got to be clear on what this lesson means for your students–why it matters and what they'll be able to do as a result. So identify the outcome.
2️⃣ COLLECT AND RECORD IDEAS ✏️
Now open your favorite development tool and start writing. This is your first messy draft. Don't worry about order right now. Just get it down.
3️⃣ NEXT PASS: IDENTIFY & VISUALLY CREATE CONTENT CHUNKS 👓
Now go through and added bolded headers to identify the “chunks” of content you're covering. Think of this as labeling the “big ideas” you're covering. The goal: make this draft SCANNABLE so you can see what all you've got!
4️⃣ SHAPE RELATIONSHIPS AND HIERARCHIES 🌲
Let's bring more order to the content. Add subheaders and/or bullets to shape those chunks. When you create a framework that has steps or categories, it's easier to present and it's easier for your students to process the lesson both the first time through and for later reference.
5️⃣ SEQUENCE 🛤️
What order do your students need to get the lesson content in? Now move pieces around for optimal flow! Get the lecture and the stories all in order
6️⃣ REVIEW SCOPE 🎪
Step back and ask: does ALL of this belong in one lesson (or should some be moved)? Ask also: is everything here that's needed?
🦉KNOW THIS: I presented these steps linearly, but there’s a good chance you’re not going to work exactly this way. Think: ITERATIONS. And it's all good! 💫
How do you create content? Are you already using some of these approaches?
If you'd like to dig more deeply into developing your teaching, click here to get first notice of my upcoming masterclass.