

Done-for-you tools give your students adaptable and even swipe-worthy content that they can use to execute on the tasks they're learning in your course with greater ease than if they started from scratch.
Here are several examples of done-for-you tools to get you brainstorming the possibilities in your own field:
- graphics or video templates,
- formatted and formula-filled spreadsheets,
- script templates for short advertising videos or cold calls,
- creative patterns, templates or stencils for crafters,
- lists of key to-dos, ingredients, steps, or processes,
- a bundle of styled photos
- worksheets for students who all need to master a common knowledgebase (i.e.; spelling or history)
Four key ways you can use done-for-you tools in your teaching and marketing:
1.Sell done-for-you tools as first digital products in your funnel.
A useful tool sold at a lower price than your signature course can introduce you to the market, bring in first income, and even get your prospects taking initial actions that move them closer to taking your full training offer.
Example: You could offer a set of checklists for getting started with online social media management as a prelude to a bigger class for training someone to run their own virtual assistant business.
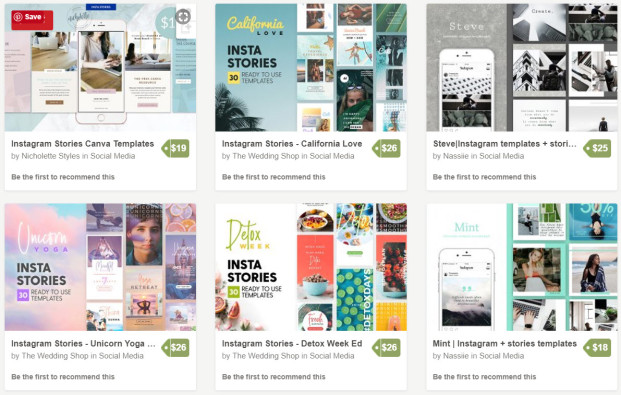
Here's an example of several InstaStory templates available over at CreativeMarket.com. They're each sold as low-cost standalone products.
2.Use done-for-you tools as bonuses accompanying a signature course.
When it comes time to sell your course, incorporating an aspect of urgency is crucial. That urgency can be expiring discounts, bonuses, or course availability. Done-for-you tools that ease a student's work make great bonuses.
Example: Here at Teach What You Do, I often offer eCourse Blueprint students a bonus bundle of graphics templates for making course logo, list-building lead magnets, and teaching slide decks. That bonus is only available for a few days after the prospect enters the offer funnel.

3. Present done-for-you tools in “upsell” offer after initial course purchase.
Right after your prospect has purchased your bigger course, you can present them with a one-time opportunity to pay a smaller amount to add on tools that will enhance their work in your course. They shouldn't in any way be crucial to the work. Crucial tools need to go in the class. They need to be “nice-to-haves.”
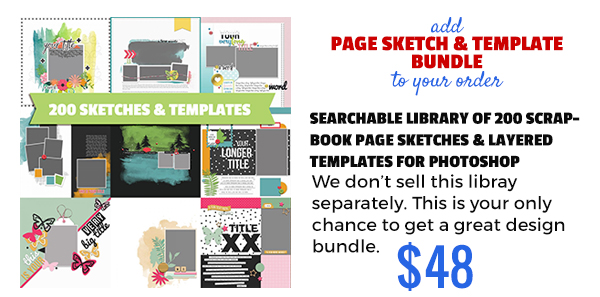
Example:At my scrapbooking education membership, I could offer a bundle of sketches and templates after the initial purchase of eBooks and video lessons.
You'll need a shopping cart tool that makes this offer possible. Here's an example of an upsell of scrapbook page sketches and templates that I presented using SamCart during last year's Black Friday sale at my other site, Get It Scrapped.
4. Build a membership around done-for-you tools.
If you're creating tools that people need new versions of, month after month, over and over again, they could provide the basis for a membership.
Example: Jasmine Star offers such a membership at Social Curator. Each month, her members get photos and customizable captions for sharing on social media. This model works because her customers need new content over and over again.
NOTE: I'm not recommending a membership model built solely around these done-for-yous if new tools are not need month after month. For example, if you're making templates for eBooks, there's a good chance your prospects only need one or two templates. Even if they are making an eBook every month, they'll probably use the same template each month. Another example could be teacher curriculum and worksheets. In this situation, your customers might need new content each month for 9 month to a year — but then, they could repeat what they've already got their new teaching year. Thus, such a membership would need to emphasize other aspects–training and community–as much as the tools.
How to design your own done-for-you tools
1.Start by looking at how you do your work and repeatable structures.
Look at the skills you're teaching and make a list of tools you use and that you'll teach your students to use. Here, by “tool” I mean a graphic designer using Illustrator, a seamstress using a sewing machine, an accountant using a spreadsheet software.
Now ask yourself: what supports or guides could make the use of those tools easier?
- Are there repeatable structures, roadmaps, checklists, prompts that ease the work?
- Are there obvious formulas, patterns, or recipes that you could lay out?
- Is there a way you intuitively approach the work you're teaching that you could put into a checklist, annotated script or template, diagram . . . or something else?
- Do you have a knowledge base you could package and that others could leverage (i.e., spelling or history worksheets)?
Get creative. What guides will ease the work your students–who are not the expert you are–must do?
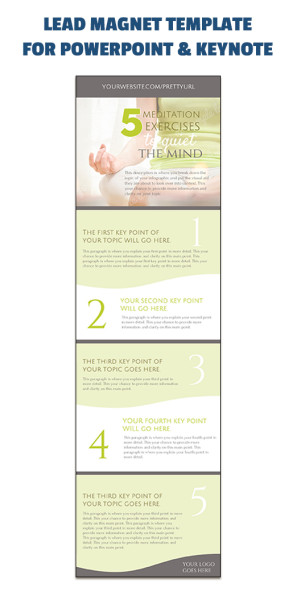
EXAMPLE: I saw that the first students in my Teach What You Do eCourse Blueprint class often got stopped by and hung up on creating a course logo or badge and on creating a first lead magnet. I wanted them to be able to do this work easily and with common tools. Thus, we make a template for course logo and lead magnet that works right in the their slide-making software (PowerPoint or KeyNote). Here's a look at a first lead magnet template. The colors and text and images can all be changed–but the layout is there and ready.
2. Extend the first done-for-you guide to a second and third for a small “bundle.”
Are there multiple pieces that you can you put together that really get the job done?
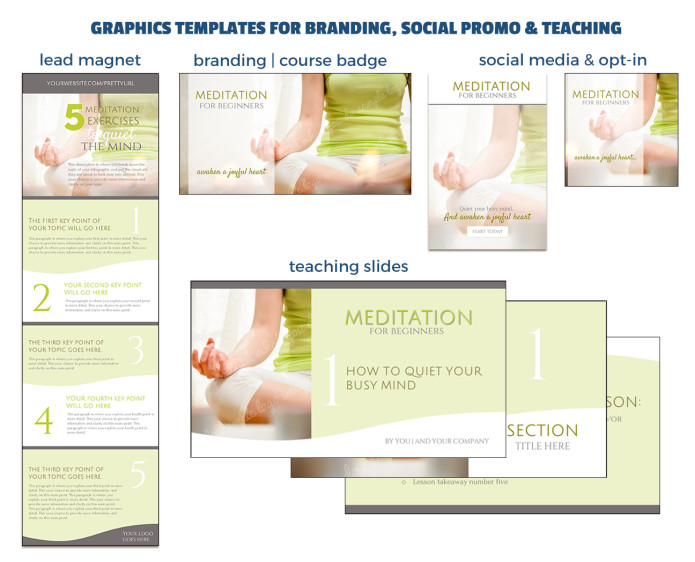
Are there two or three checklists or recipes or graphics that go together? With the Teach What You Do graphics bundle, we not only made PowerPoint templates for lead magnets, we also made templates for media graphics to match, sized for Pinterest, Facebook, and Instagram.
You'll make this a richer resource when you present more than just one piece.
EXAMPLE: In addition to making templates for lead magnets for Teach What You Do eCourse Blueprint students, we made templates for the course logo, for social media, for landing page opt-ins and for teaching slides.
3. With that first bundle created, consider making variations or “suites.”
Now, think on this: How can you take that first package and create it in different flavors?
Are there different usages (i.e., niches) for which you could design another version?
Are there different styles in which you might render this set? Might you use different colors or graphics? Maybe more casual language or . . . you tell me! Think on it.
Are there different expertise levels that would merit another set?
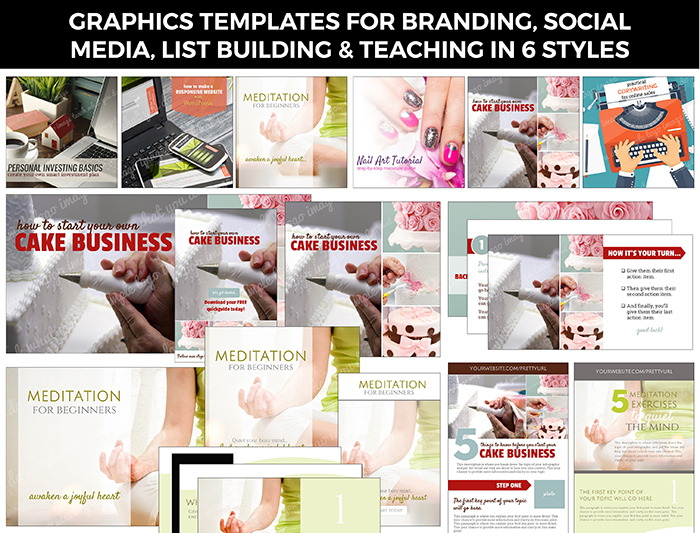
Returning again to the Teach What You Do graphics bundle, we make all the various graphics size formats in 5 different styles so that our customers could choose between professional, casual, and even whimsical looks, depending upon their own branding and business.
EXAMPLE. We extended that graphics bundle for eCourse Blueprint students that I just showed you into 6 styles. Each style uses color, shape, fonts, and styling to support a variety of branding approaches.

Every piece was created in 6 styles, which gives my students tons of flexibility and choice.
Done-for-you tools give your students key support and help you make more sales
Start brainstorming and designing the tools, templates, patterns and guides that your students can use to to reach their goals more quickly and with greater success. CLICK HERE to download a worksheet that will quickly have you getting this work done.