

When it comes to creating an online course you will need to develop some tech skills.
Not to worry, though: for almost all of them, there are tutorials created by the tech-tool creators and free Facebook support groups where you can get speedy help from peers who've been in the same spot. . . . and gotten to the other side.
So there's that.
In the spirit of getting you trying out some tech on your own and building your confidence, I've got three things for you to put on your to-do list today. Schedule them out over the next week or two to build your skills and, more importantly, build your confidence. I want you knowing that you really can figure this stuff out.
And you know what? Tools are evolving so rapidly, this really is how people master them: by digging and doing.
Here are 3 tech challenges for you to try.
1. Run a live meeting with just you and a friend and create a recording.
Live meetings, also know as web meetings or webinars, are an essential teaching venue. Here's how to hit the easy button on trying one out:
- Sign up for a free Zoom account. You do that at Zoom.us
- When you do that, you'll get your personal meeting URL. Copy that and send it to a family member or friend and ask them to meet you at that virtual spot at a certain time and day.
- Follow the instructions and get to your meeting.
- Press the RECORD button at the bottom of the screen.
- Work through the sharing options to share your screen. See if you can have your guest share theirs, too.
- Follow the instructions afterward to convert and save the recording. Find that recording on your computer and view it!
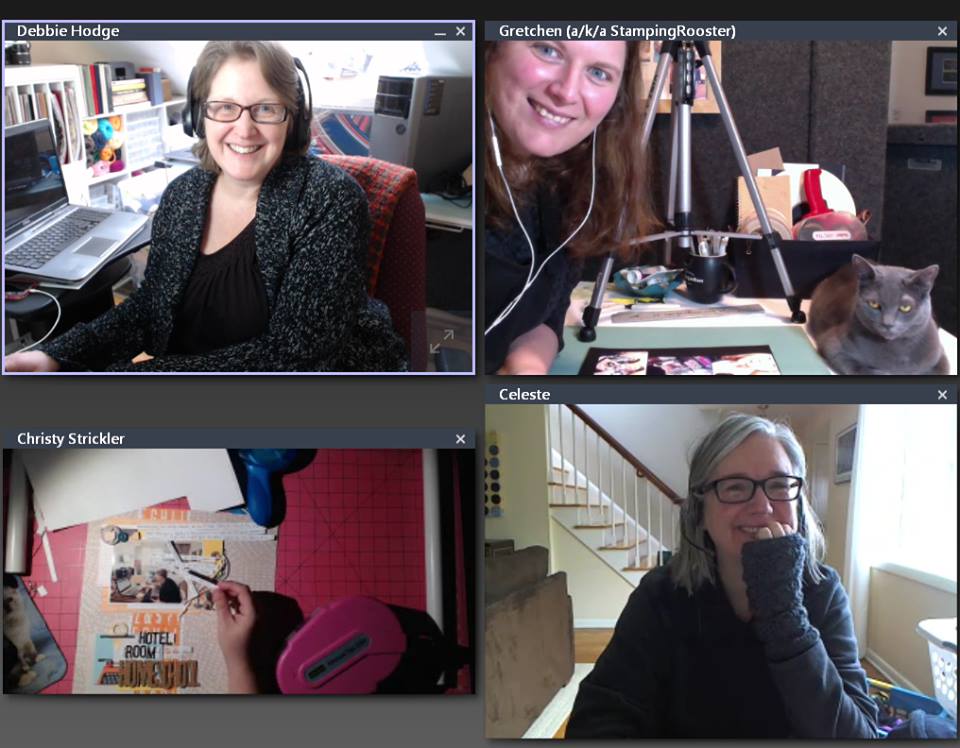
This is a web meeting of scrapbookers who were members at my site Get It Scrapped.
2. Make a simple course badge with your slide software.
This is for play but it's going to make you aware of resources and capabilities you might not have realized. Did you know you could use your slide software–Powerpoint or Keynote or Google Slides–to make a graphic?
Here's how to do this:
- Start by opening your slide software–either Powerpoint or Keynote.
- Go to Unsplash.com and choose a picture you like to use as your background. When you get there, start by reading their licensing terms. They're linked at the bottom of the page. You can pretty much use all their photos for personal and commercial use. But read the terms. See that the photographers appreciate credit but don't require it.
- Now I want you do figure out how to download a picture AND how to import it into your first slide in Powerpoint or Keynote. The picture is probably not going to fit just right. You'll drag it from a corner to make it fit and then use the CROP tool to get rid of the parts that hang off. In Powerpoint you do that by right clicking on the picture then choosing the CROP icon which looks like two Ls, an upside down one and a right side up one that come together. You can look in the how-tos for your software to figure it out. This is a part of gaining tech confidence. Understanding that everything you need is right there.
- Now find a clear spot on the image and insert a text box, and type your course name or your idea of a course name. Once you've got it in there, highlight that text and use your color picker to sample a color from the picture and make the text that color! You've got this. Remember this is play and we're not going for perfection. We are learning about possibilities.
- Finally, I want you to export this ONE slide as a jpg file. Did you realize that any slide could become a graphic? It's true. So choose export and then choose the file type as jpg and then export just the one slide and find it on your computer.

3. The last tech thing I want you to do is take a photo with your phone, edit it and save a copy.
 Again, we're playing. We're understanding the possibilities. Maybe you already know how to do this. If so: YAY. I'm so glad. If you don't it's time to figure it out.
The reason to do this is so that it becomes easy for you to share photos on the fly on social media. And to pump them up a bit.
- So get out your phone and take a photo.
- Next, go into whatever the photo app is on your phone. My phone uses Google Photos. So go find that photo you just took with your phone's photo app.
- NOW, figure out what available for editing. Phones are going to vary. Mine right now has an icon that I think represents several sliders. Once I click on that I can do some autocorrections, I can crop, I can add filters. So figure yours out AND save as a copy. That's probably available through a menu choice from the top corner.
- Once you've got that down, it's time to get an app for adding text or doodles to your photo. There are apps like Typorama and WordSwag and many more. Go to the app store for your phone and search for “text on photos” and get an app and figure out how to use it.
- Bonus points if you now go to Instagram Stories or Facebook Stories and post your edited photo.
So those are three tech assignments for you. Maybe you can already do these and if so congrats. You are on your way.
A big reason for doing this is to build confidence–not just in yourself but in all the systems and tools that are available and the level of help that's also available.
Again: you're going to
- run a live meeting and get a recording of it,
- make a slide with a stock photo, add text and export images, and
- edit a photo on your phone and post it to a story on Instagram or Facebook.