 Converting your knowledge and skills into “on-demand” lessons that your students can access at their convenience most likely means you're creating one or more of:
- written (and perhaps illustrated) materials
- audio
- video
These are great basic formats because they're easy to consume on mobile devices, tablets, laptops, and desktop computers. What's more, online classroom tools are designed to present them well.
Most students expect video now
The presence of a video component to an online course is now expected by students. I'm a big fan of starting with your primary format and creating in supporting formats, as I described in “Create Your Online Course Lessons in Multiple Formats and Get Your Students to their Learning Goals.”
When you start with video, it's easy to get an audio version (just output to mp3 right after you output to mp4). It's also not too difficult to get a written version of your video: turn your script into a transcript OR, if you don't have a script, use a transcription service.
Conversely, if you're starting with audio or written formats, video can be generated from those formats quite easily with a straight-to-camera rendering of your “lecture” or by combining recorded audio with appropriate images.
Below are 4 basic approaches to teaching with video and the basic process and equipment needed for each.
These video teaching formats are:
- Live Demo Video
- Straight-to-Camera Video
- Screen-Capture Demo Video
- Narrated-Slides or Narrated-Image Video
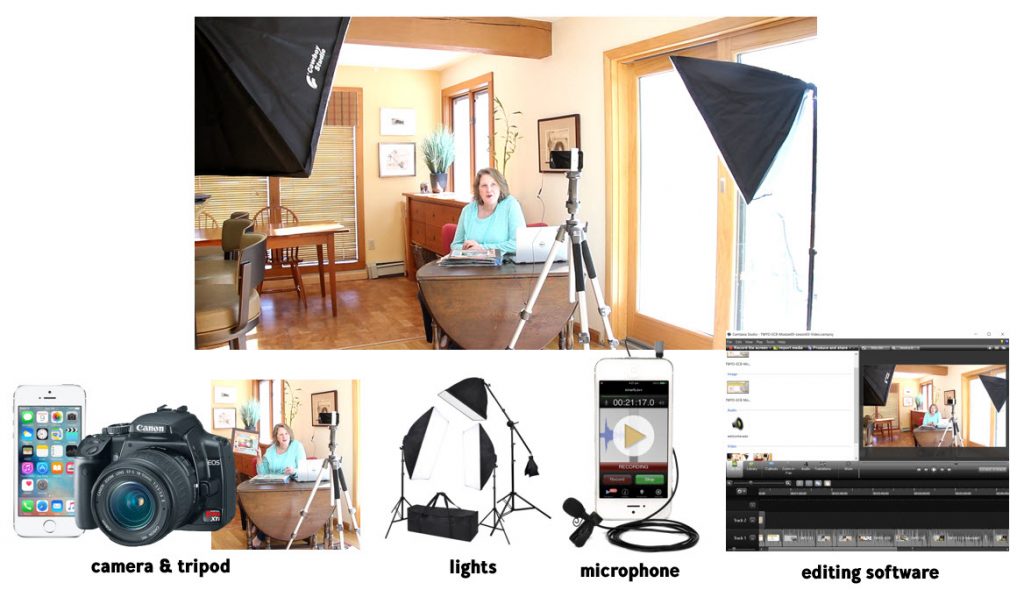
1. Live Demo Video
This is the kind of video you make when you want to show your students how to upholster a chair or play a harmonica or repair a bike: activities that are show by you, in person, doing the task.
The process:
- Develop the project or demo and, perhaps, write a script or step-by-step process to follow.
- Set up and test video and audio recording equipment.
- Record your demo.
- Edit and render your recording as mp4 file.
- Upload to video hosting.
- Use code provided by video host to present video in online classroom.
Equipment needed:
- Camera and tripod
- External microphone
- Lighting
- Software for editing and rendering recording
- [OPTIONAL] Video recording app on mobile phone camera
2. Straight-to-Camera Lecture Video
This is the kind of video you make when you want to talk to or lecture your students, looking into the camera during recording, without props or slides. This is a good setup for coaching and “lecture” lessons that don't need exhibits or demos.

The process:
- Develop the lecture content.
- Write a script or outline.
- Practice and/or put onto teleprompter.
- Set up and test video and audio recording equipment (as well as teleprompter).
- Record your lecture.
- Edit and render your recording as mp4 file.
- Upload to video hosting.
- Use code provided by video host to present video in online classroom.
Equipment needed:
- Camera and tripod or mount
- [OPTIONAL] Teleprompter and mount
- External microphone
- Lighting
- Software for editing and rendering recording
- [OPTIONAL] A less expensive and easier-to-use (but lower quality video) option is to use a webcam and external microphone
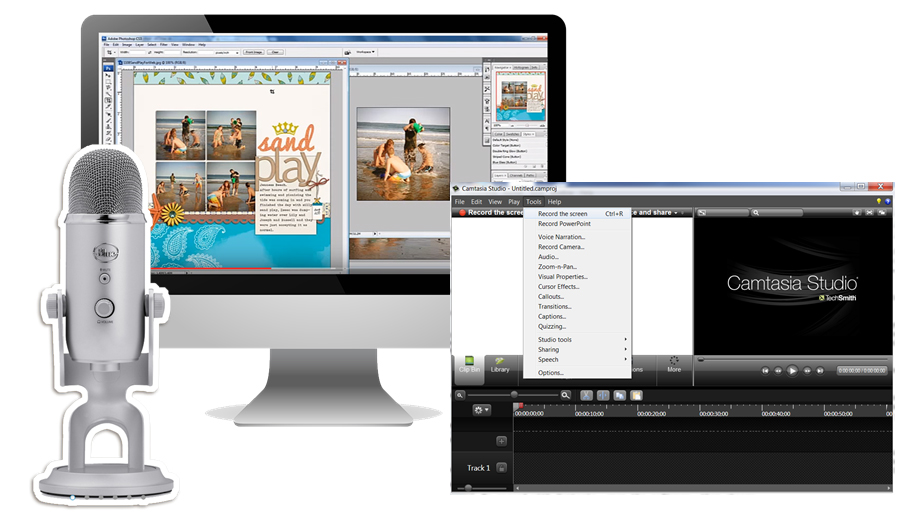
3. Screen-Capture Demo Video
When your teaching means demonstrating work that's done on a computer, the “screen capture demo” video is your best tool. You might be teaching someone to use a digital tool like Photoshop or Asana. Maybe you're teaching them to program or do online research or design a logo. If the work is best done on the computer, this is your format.
The process:
- Develop your project or process and practice.
- Create outline of work to be done–or even a script and display on another device or screen.
- Set up and test screen capture recording software and microphone.
- Record screen capture and audio narration.
- Edit and render your recording as mp4 file.
- Upload to video hosting.
- Use code provided by video host to present video in online classroom.
Equipment needed:
- Computer and monitor upon which you'll show your application to be recorded.
- Screen capture software (Camtasia, ScreenFlow)
- Microphone
- [OPTIONAL] Second monitor or table for displaying your script or outline
4. Narrated-Slides or Narrated-Images Video
This is the format I see used more frequently for online courses. With this approach, you illustrate your lecture with slides that have a combination of image, text, and diagrams to illustrate the content. You'll be using a process like that just described but instead of demoing a process on your computer screen, you'll show your slides on the screen. As you show them, narrate and teach.

Process approach #1: Record slideshow and your voice narration (audio) all at the same time.
- Develop your slides and lesson, including script or talking points.
- Show your slides on the screen. Show your script or outline on another screen or device (or print out).
- Set up and test screen capture recording software and microphone.
- Record screen capture of your slides and audio narration.
- Edit and render your recording as mp4 file.
- Upload to video hosting.
- Use code provided by video host to present video in online classroom.
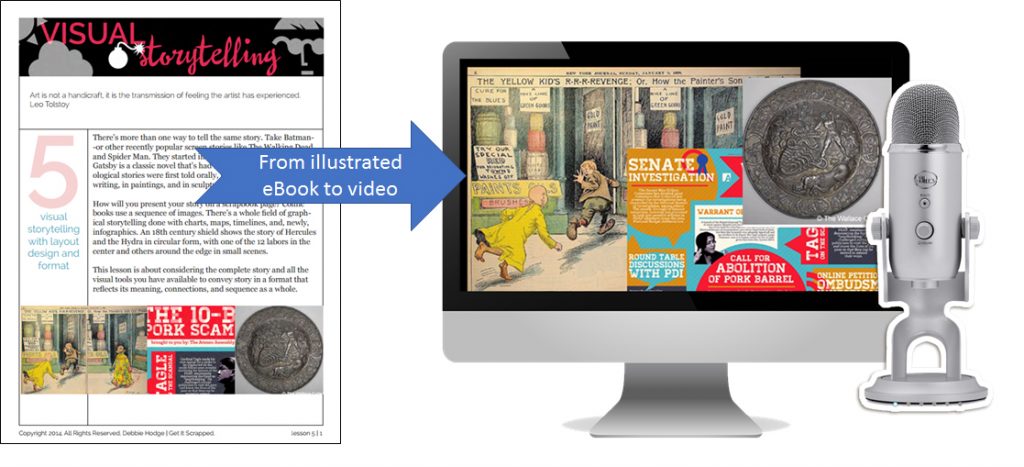
I've used this process to turn older illustrated eBooks easily into video, using the second process approach.
Process approach #2: Record audio, then edit to add images.
- Develop your script or talking points.
- Set up and test microphone and audio recording software (Audacity, Camtasia, Screenflow).
- Record audio of yourself speaking the script or lesson from talking points.
- Bring audio file into video editing software (Camtasia, Screenflow).
- Bring the images in jpg format into your video editing software. (You can output individual slides to individual jpg files).
- Place images onto video editing timeline to match appropriate audio.
- Edit and render your recording as mp4 file.
- Upload to video hosting.
- Use code provided by video host to present video in online classroom.
Equipment needed:
- Microphone
- Audio recording software (Audacity, Camtasia, Screenflow)
- Video editing software (Camtasia, ScreenFlow)
- Microphone
- Images
Are you ready to create video lessons?
Come on over to our free Facebook group, and tell us what's working for you when it comes to training with video. Bring your questions, too, whether they have to do with process, recording tools, classroom presentation or another aspect of teaching with video.